A mold remediation documentation checklist helps homeowners, adjusters, and restoration contractors build one organized record of the conditions found, the work performed, and the condition left at completion. Mold work often follows a roof leak, plumbing failure, or water-loss event, but the visible growth is only part of the file. Moisture sources, affected materials, containment, equipment operation, disposal, and final observations all need clear dates and locations.
This checklist is designed for documentation and communication. It does not determine insurance coverage, establish the cause of loss, replace a policy review, or substitute for advice from qualified environmental, medical, legal, or insurance professionals. The carrier evaluates the claim under the policy and the facts of the loss.
1. Record the reported event and moisture source
Start the file with a simple chronology. Record when water or unusual humidity was first noticed, when the source was stopped, when the insurer was notified, and when inspection or mitigation began. Identify the reported source without overstating certainty. A contractor can document a leaking supply line, roof opening, or wet wall cavity, but should avoid making policy or coverage conclusions.
Property address, claim number if available, and primary contacts.
Reported date and time of the event or first discovery.
Rooms, assemblies, and contents reported as affected.
Steps taken to stop ongoing water entry or reduce humidity.
Names and arrival times of plumbers, roofers, mitigation crews, inspectors, or other trades.
The EPA's mold cleanup guidance emphasizes that controlling moisture is central to addressing mold. That makes source-control documentation a practical first section of the claim file, not an afterthought.
2. Build a room-by-room photo record
Take overview photos before moving to close-ups. An overview shows where the affected area sits within the room; a midrange image shows the building component; and a close-up shows the visible condition. Label files by room, wall, ceiling, floor, cabinet, or contents group. Keep original images and their timestamps. If annotations are useful, save marked copies separately.
Photograph the room entrance and all four directions for orientation.
Capture visible staining, suspected growth, swelling, delamination, or material removal boundaries.
Photograph the suspected moisture source and any completed temporary repair.
Document containment barriers, pressure-control equipment, warning signs, and access points.
Take progress photos during selective demolition, cleaning, and drying.
Take completion photos from the same angles used at the start.
Avoid presenting a photograph as laboratory confirmation. A photo can document appearance and location, while sampling or identification questions may require a qualified professional and an agreed scope.
3. Log moisture and environmental readings
A usable moisture log ties every reading to a date, time, room, material, device, and comparison point. Record whether a reading is relative, qualitative, or expressed as a material-specific percentage. Note the meter model and mode when relevant. Include unaffected comparison areas when the method calls for them, and never convert a reading into a conclusion the instrument cannot support.
The EPA's moisture and mold guide explains the relationship between moisture control and mold prevention. In a claim file, that relationship is best shown through repeatable readings and a documented source-control timeline rather than a single number without context.
Ambient temperature and relative humidity at each visit.
Material readings at mapped locations, using consistent labels.
Outdoor or unaffected-area comparison readings when appropriate.
Instrument identification and calibration or verification notes maintained by the contractor.
Daily trend notes explaining material removal, equipment changes, or inaccessible areas.
4. Document the assessment and agreed work scope
Keep the inspection report, work authorization, estimate, diagrams, and any written protocol together. The scope should identify affected materials, planned containment, cleaning methods, removal quantities, contents handling, and equipment. Change orders should explain what changed, when it was observed, who was notified, and how the revised work relates to field conditions.
A strong restoration file lets a reviewer follow the same chain from reported event to observed condition, planned scope, daily work, and completion without guessing which photo or reading belongs to which room.
For contractors, good documentation is also an operational control. PerilBridge's contractor network overview describes the field and back-office discipline expected in insurance-driven work. The record should remain factual and should separate observations from assumptions.
5. Capture containment, safety, and daily activity
Photograph containment before work begins and whenever it changes. Daily notes should identify crew members, hours, work areas, removed materials, cleaning performed, equipment installed or relocated, and any access limitation. If negative-air or filtration devices are used, record their placement and operating periods. If waste is removed, retain disposal records required by the project, contract, or local rules.
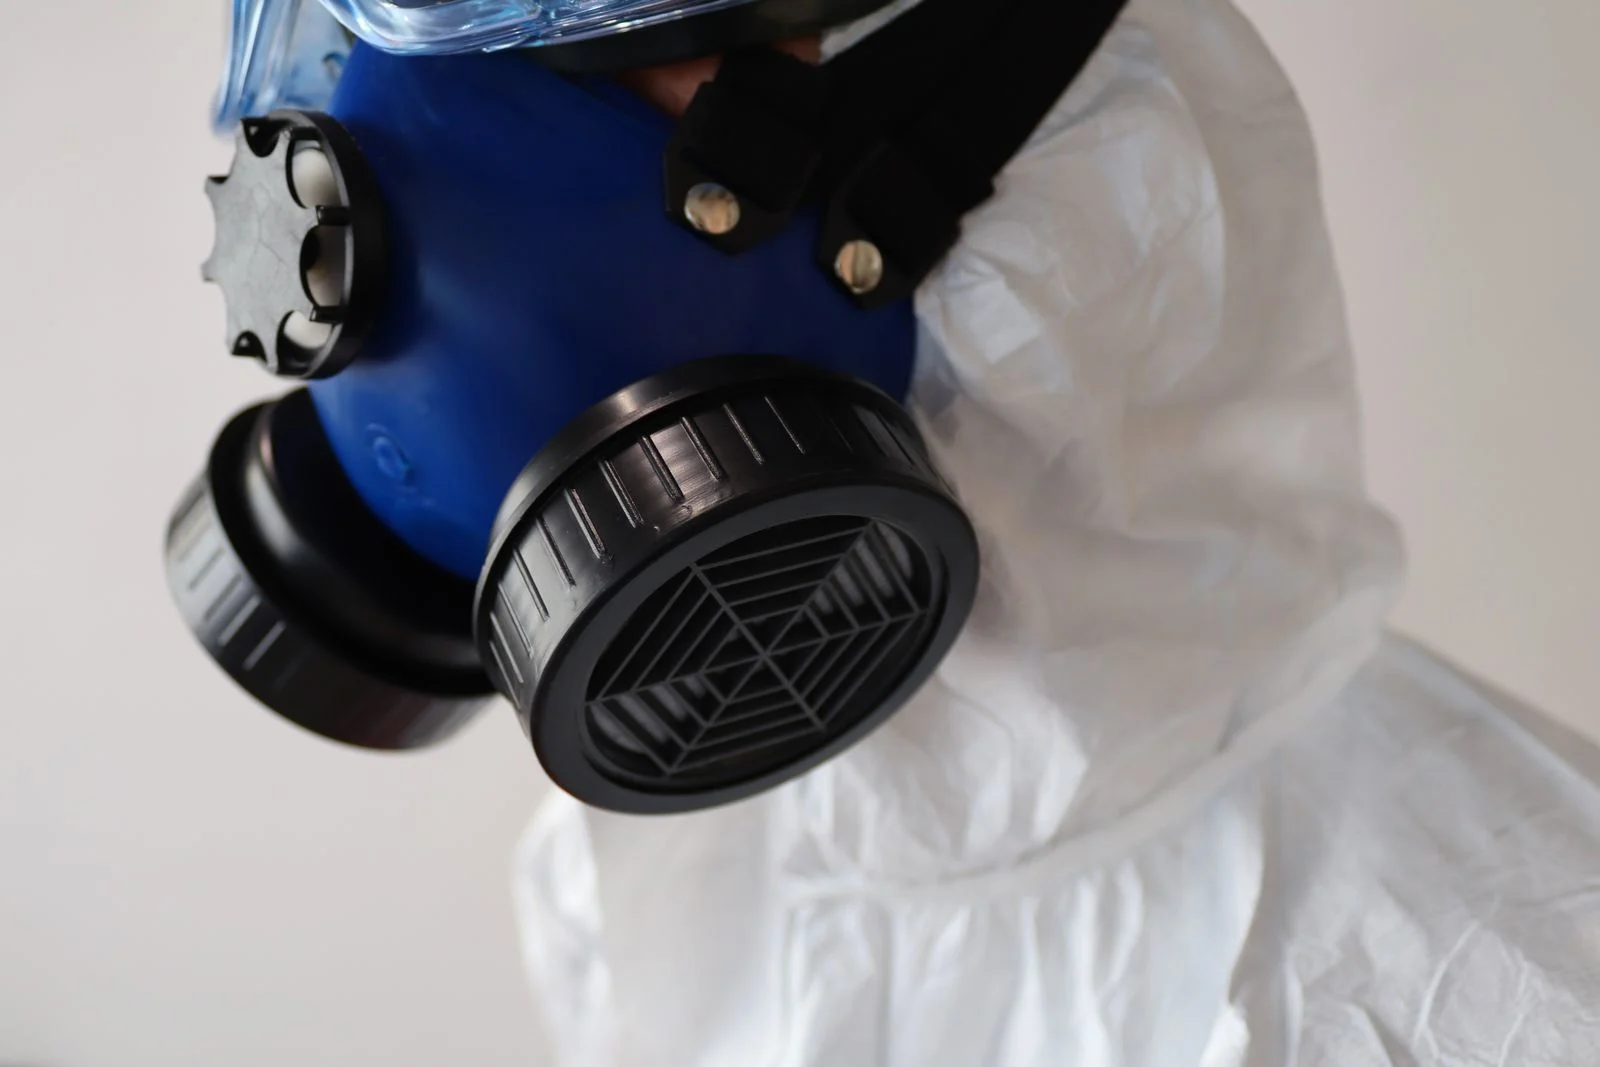
The CDC/NIOSH mold resource discusses damp-building exposure and prevention in occupational settings. Project-specific protective measures should follow the contractor's safety program, applicable requirements, the work scope, and conditions at the site. A documentation file should show what controls were actually used without claiming that a photo alone proves every requirement was satisfied.
6. Keep equipment records understandable
List each dehumidifier, air mover, air-filtration device, or other unit by identifier. Record installation and removal dates, location, major setting changes, and operating interruptions. Pair equipment records with the moisture map so a reviewer can understand why equipment was placed and how conditions changed. Do not rely on a final invoice alone to explain the drying or filtration sequence.
Equipment type, unit identifier, room, and setup date.
Daily operating status and any relocation or removal.
Power interruptions, access delays, or occupant-requested shutdowns.
Related humidity, temperature, and material-reading trends.
Photos showing placement without exposing private personal information.
7. Track contents, demolition, and disposal
If contents are moved, create an inventory with descriptions, room of origin, condition notes, photographs, and destination. For demolished building materials, record type, approximate quantity, location, and why removal occurred under the work scope. Keep receipts and disposal documentation when applicable. This is particularly important when wall cavities or roof-related water entry expand the visible scope after work begins.
When water entry begins at the roof, the roof storm damage service overview can help property owners understand how roof inspection and restoration documentation connect. A roofing contractor should document roof conditions; a restoration contractor should document interior moisture and remediation work; neither should promise a coverage decision.
8. Assemble completion and post-remediation records
At completion, summarize the work performed, materials removed or cleaned, final moisture observations, equipment removal, remaining limitations, and recommended follow-up. If an independent post-remediation assessment or clearance is part of the project, include the complete report and identify who performed it. Do not call a project cleared unless the applicable professional has issued that conclusion under the agreed criteria.
FEMA's mold problems and solutions fact sheet reinforces the need to address moisture and safely remove affected porous materials after flooding. The exact remediation plan will vary by source, material, extent, occupancy, local requirements, and professional judgment.
Take final room and assembly photographs using the original photo map.
Attach the final moisture log and explain any inaccessible or excluded area.
Reconcile equipment dates and quantities with daily logs and the invoice.
Include signed completion documentation without characterizing it as a carrier approval.
Provide warranties or maintenance instructions that actually apply to the completed work.
Retain originals in accordance with company policy and applicable requirements.
9. Package the file for efficient claim review
Use a cover page and index. Organize the final packet into chronology, initial assessment, photo log, moisture map, scope and changes, daily logs, equipment, contents or disposal, completion records, invoices, and correspondence. Use consistent file names and keep large photo sets in folders rather than compressing every image into an unreadable PDF.
Homeowners can use PerilBridge's homeowner resource page to understand the broader repair workflow. For help locating the right route or connecting with the appropriate team, use the PerilBridge contact page. Share only information needed for the review, and remove sensitive personal data that does not belong in the claim packet.
The short version
A complete mold remediation claim file explains what was reported, where moisture was found, how conditions were measured, what scope was authorized, how the work area was controlled, what changed during the project, and what was documented at completion. Clear records do not decide coverage, but they reduce avoidable ambiguity for homeowners, adjusters, contractors, and vendor-management teams.