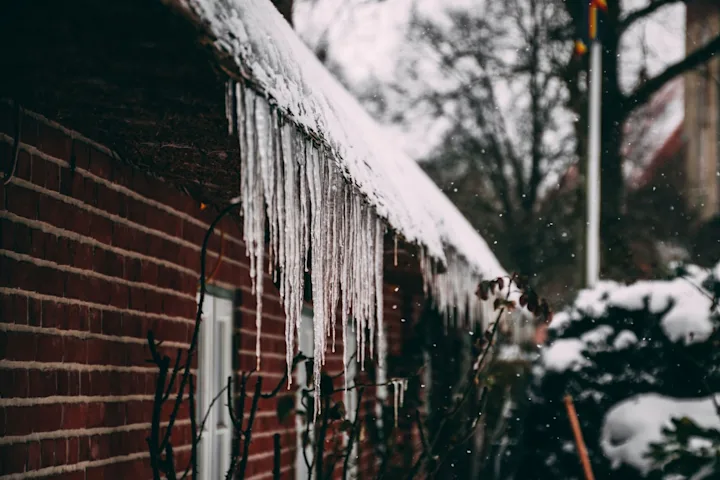
An emergency roof tarp documentation checklist helps homeowners, contractors, and adjusters preserve a clear record when temporary protection is installed after wind, hail, falling debris, or another sudden roof problem. The tarp itself is only one part of the file. Useful documentation shows the condition before work, the reason temporary protection was needed, what materials were installed, what the work cost, and what changed afterward.
Temporary protection should reduce additional exposure without turning an urgent situation into an unsafe one. Homeowners should not climb onto a wet, steep, unstable, or storm-damaged roof. A qualified contractor can document conditions and install protection while the homeowner organizes ground-level photos, interior evidence, notices, invoices, and carrier communications.
Why emergency roof tarp documentation matters
A tarp can cover the exact roof surface an adjuster or contractor later needs to evaluate. That does not mean the property should be left exposed. It means the file should capture the condition before it is covered whenever that can be done safely. FEMA's guidance on information needed for a home insurance claim emphasizes photos or videos of damage and repair receipts. Those records help explain both the original condition and the reasonable steps taken afterward.
Good records do not decide whether a loss is covered, how much is owed, or whether permanent replacement is appropriate. Those questions depend on the policy, the facts, applicable requirements, and the carrier's review. Documentation simply makes the sequence easier to understand.
1. Record the property and event before tarp work starts
Start with a short event timeline. Record the date and approximate time of the storm or discovery, when water intrusion began, which rooms were affected, and when the contractor was contacted. Save relevant weather alerts without presenting regional weather data as proof of damage at the property.
Photograph the property address or another non-sensitive identifier for file orientation.
Take wide photos of every safely visible exterior elevation and roof plane.
Photograph missing materials, openings, displaced flashing, damaged vents, gutters, and debris from ground level.
Record interior ceiling stains, active drips, wet insulation, and affected finishes before cleanup.
Keep original files with their timestamps; avoid replacing originals with cropped or annotated copies.
The National Weather Service's post-thunderstorm safety guidance advises staying away from downed power lines and reporting hazards. If electrical service, structural movement, standing water, or damaged trees make the area unsafe, leave the documentation work to emergency professionals.
2. Photograph the temporary repair in sequence
A useful photo set works like a visual map. Begin with a wide image showing the house elevation, move to a medium image locating the affected roof plane, then add close images of the condition. Repeat that sequence after the tarp is installed. This lets a reviewer connect the covered area to the original opening or damaged section.
Before: wide elevation, roof plane, close condition, and related interior water entry.
During: materials, approximate covered dimensions, attachment method, and any removed loose debris.
After: full tarp placement, edges, termination points, and a wide image showing its location on the structure.
Follow-up: any movement, new leakage, or additional temporary work after later weather.
The goal is not the largest possible photo count. It is a short, ordered record that shows what was visible, what was protected, and when each step occurred.
3. Keep a written scope of temporary work
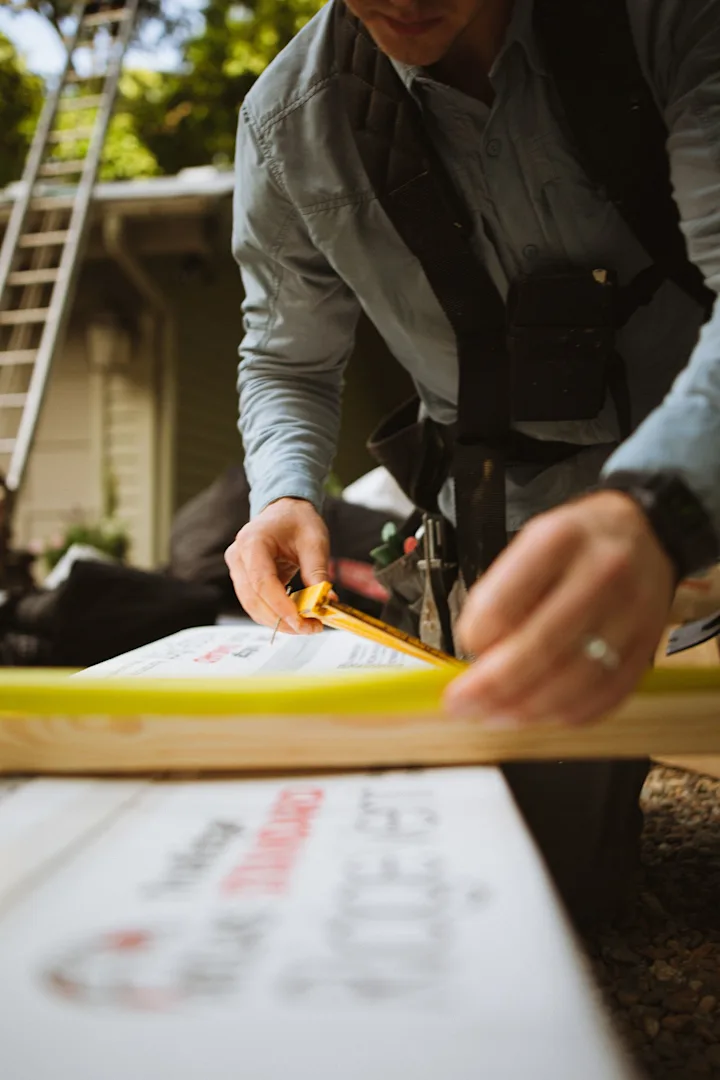
Ask the tarp contractor for a written description that separates emergency protection from permanent roof repair. It should identify the service date, approximate tarp dimensions, materials, labor, access conditions, disposal or debris handling, and any return visit. If the contractor observed concealed conditions, the note should distinguish direct observation from an opinion that requires further inspection.
PerilBridge's emergency roof tarp service is designed for temporary protection and documentation. A tarp is not a permanent repair, a claim decision, or evidence by itself that a full roof replacement is required.
4. Save invoices, receipts, and payment records
Keep the estimate, signed authorization, itemized invoice, payment receipt, and photographs together. If materials were purchased directly, save those receipts too. FEMA's guidance on cleaning and necessary repairs after a disaster advises documenting damage before cleanup when possible and keeping receipts for disaster-related expenses.
The invoice should reflect the actual work and actual price. Avoid paperwork that combines temporary tarping, permanent roofing, upgrades, and unrelated work into one unexplained total. Clear line items make it easier for the homeowner, contractor, and adjuster to understand the emergency measure without implying a coverage result.
5. Maintain a simple communication log
Record when the damage was discovered and when the carrier was notified.
List each contractor or mitigation visit with date, time, and purpose.
Save claim numbers, inspection appointments, emails, text messages, and requested documents.
Note any new leak or tarp movement and who was contacted for follow-up.
Keep a copy of everything submitted rather than relying only on a portal confirmation.
For a broader filing sequence, use PerilBridge's guide on how to file a roof insurance claim. It explains the roles of documentation, inspections, contractor estimates, and carrier review without suggesting that a contractor controls policy decisions.
6. Separate emergency protection from permanent scope
Emergency tarping addresses immediate exposure. Permanent scope requires a fuller evaluation of the roof assembly, substrate, flashing, penetrations, drainage, and applicable installation requirements. The Insurance Institute for Business & Home Safety provides roof guidance and roadmaps that can help property owners understand roof-system details and resilient reroofing considerations.
An adjuster may need to see the pre-tarp images, inspect accessible areas, or request additional documentation. A roofing contractor may need to remove or reposition temporary materials to evaluate the roof safely. Neither step should be treated as a promise of coverage, approval, payment, or replacement.
7. Use a safety-first follow-up plan
After severe weather, hazards can persist after the sky clears. Ready.gov's returning-home guidance recommends checking for structural damage and other hazards before entering a damaged property. Do not attempt to tighten or replace a tarp from the roof unless you are trained, equipped, and authorized to do that work.
Schedule a recheck if winds move the tarp, water returns, attachments loosen, or the permanent inspection is delayed. Add the new visit, photos, and invoice to the same chronological folder rather than creating an unrelated record.
A practical file structure
01-event-timeline-and-notice
02-before-tarp-exterior-photos
03-interior-water-evidence
04-tarp-installation-and-scope
05-invoices-receipts-and-payments
06-adjuster-and-contractor-communications
07-follow-up-inspection-and-permanent-scope
Use descriptive filenames such as south-slope-opening-before-tarp-01.jpg or guest-bedroom-ceiling-stain-02.jpg. Preserve original images separately and place annotated copies in a review folder. This small habit prevents location and chronology from getting lost when multiple people handle the file.
When to request a professional inspection
Request a professional review when damage cannot be seen safely from the ground, water continues after tarping, the roof deck may be compromised, or the temporary measure covers multiple roof components. Homeowners can request a claim-ready roof inspection or review PerilBridge's roof storm damage services to understand the next operational step.
The short version
An emergency roof tarp documentation checklist should answer six questions: what happened, what was visible before protection, where the tarp was installed, what work and materials were used, what the temporary work cost, and what follow-up occurred. Photograph safely, preserve originals, keep an itemized scope and receipts, and separate temporary protection from permanent repair and policy decisions.