Roof measurement documentation is the bridge between a property observation and a repair scope that another person can review. For roofing contractors and adjusters, a useful record does more than produce a square count. It shows which roof planes were measured, how the measurements relate to the structure, what method was used, and what conditions limited access. That clarity helps a homeowner understand the work being discussed and helps a carrier or IA team review a file without reconstructing the visit from scattered notes.
The goal is not to treat a measurement report as a policy determination or a final price. It is a factual field record. A well-organized report distinguishes observed dimensions from assumptions, connects photos to roof elevations, and states when a safe visual estimate or a follow-up inspection is more appropriate than a roof-level measurement. Contractors building a repeatable process can compare their workflow with PerilBridge's contractor network standards; carrier and vendor-management teams can see the corresponding carrier workflow.
Start with a property reference sheet
Every measurement package needs a stable reference point. Before measuring, record the property address, visit date, contact on site, weather conditions, and the person or team that created the report. Add a simple elevation key—front, rear, left, and right from the street-facing view—and use that key consistently in sketches, photos, and estimate notes. A reviewer should not have to guess whether “slope two” is the south plane, the rear dormer, or a detached structure.
This first sheet is also the place to note access conditions. Wet roofing, steep pitches, overhead hazards, landscaping, locked gates, or active weather can limit a field visit. Those limits should be stated plainly. They are not defects in the report; they are context for deciding what was measured directly, what was estimated from a safe vantage point, and what may need a later confirmation.
The National Roofing Contractors Association resource library is a useful starting point for general roofing guidance. For a claim-repair workflow, keep the field record focused on what was actually observed at this property rather than copying generic conditions into the file.
Document the method before the numbers
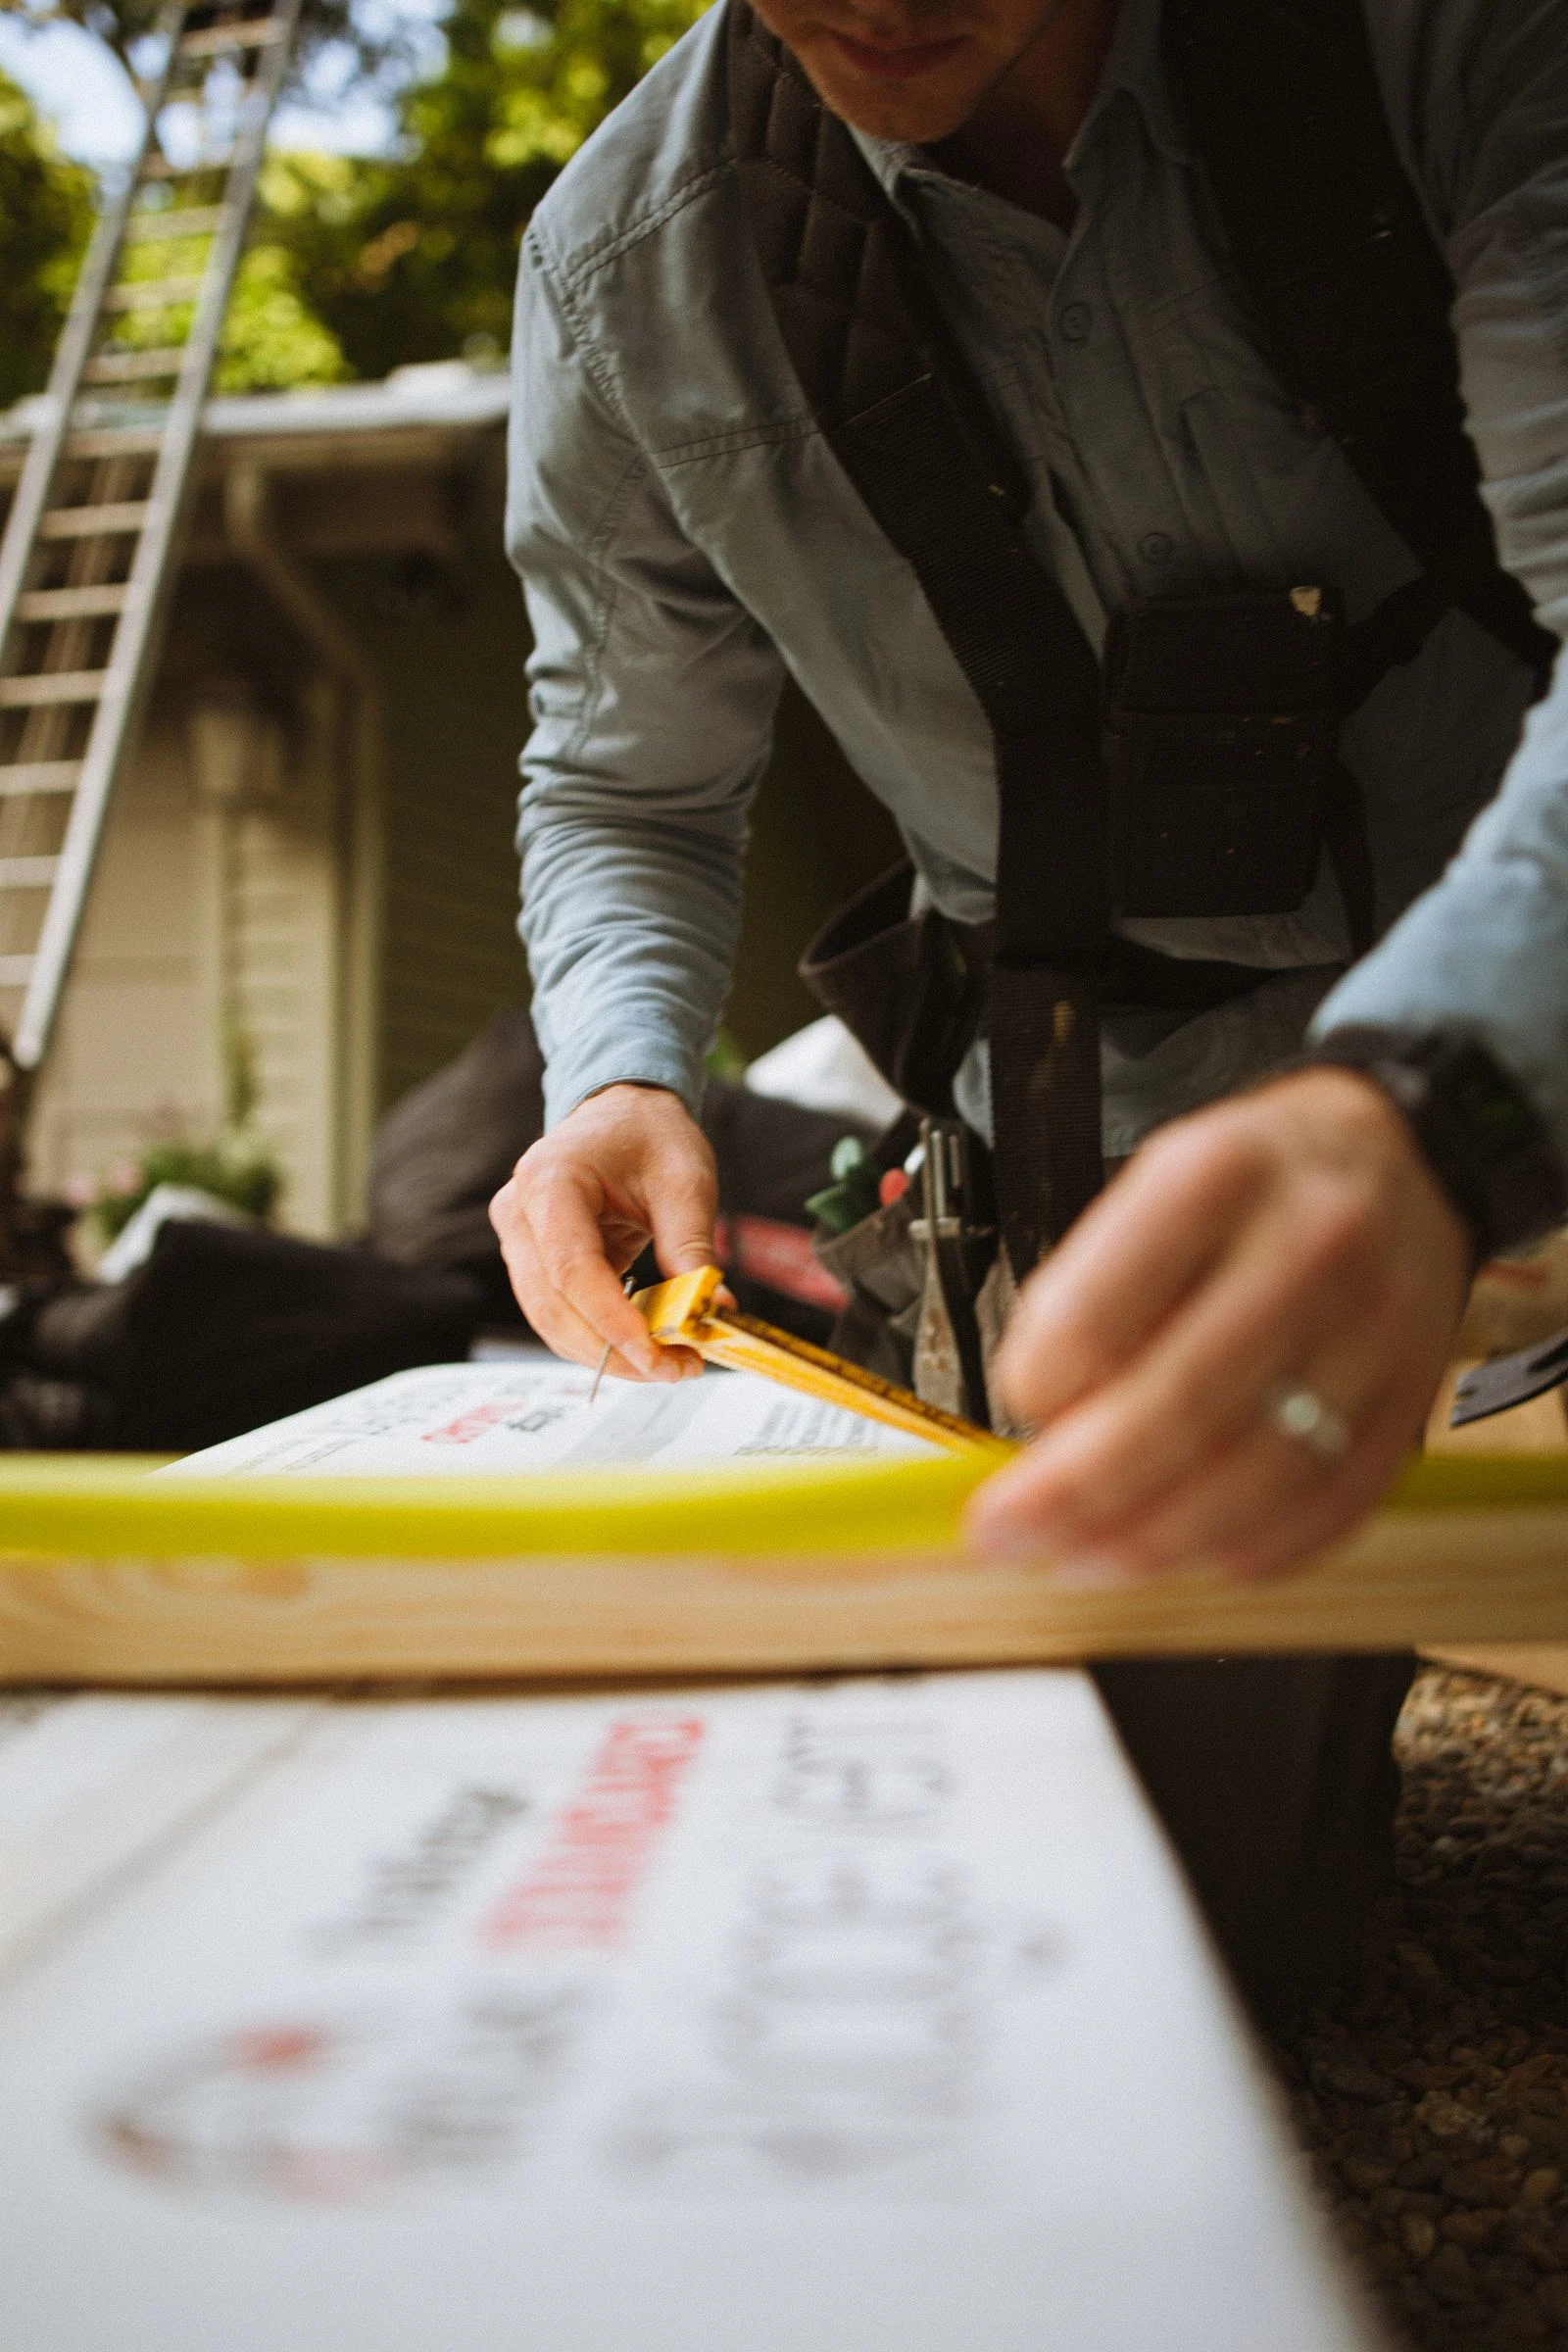
Roof dimensions can come from a tape measure, a laser tool, a drone image, aerial measurement software, a roof sketch, or a combination of those methods. The method matters because each produces a different level of detail and has different limits. Record the tool or service used, the date of the imagery or site visit, the units used, and whether the report is preliminary or field-verified.
For direct measurements, a practical note might say that eave length and ridge length were measured from the roof, while a high rear valley was approximated from a safe ground observation and marked for confirmation. For aerial reports, retain the original report, its property address, and the image date if supplied. Avoid presenting an estimate as a field measurement simply because it looks precise.
The IBHS RICOWI roof survey practices guide emphasizes systematic roof and building documentation, including identifying unusual patterns and recording available roof and building records. That same discipline makes a measurement package easier to review: the reader can see where the data came from and where the record stops.
Build a roof sketch that a second reviewer can follow
A roof sketch does not need to be beautiful. It needs to be legible, complete enough to orient a reader, and tied to the measurements used in the scope. Label each plane, ridge, hip, valley, eave, rake, dormer, chimney, skylight, vent group, and transition to a lower roof. If there are separate roofs over a garage, porch, shed, or addition, show them as separate areas rather than rolling everything into one total.
Useful sketch details include:
Each roof-plane identifier and its approximate orientation.
Linear measurements for ridges, hips, valleys, eaves, and rakes where relevant.
Pitch notation, including how it was obtained and whether it was estimated or verified.
Roof penetrations, transitions, and details that affect material quantities or access.
A legend for symbols and a note for areas that could not be safely verified.
Numbers without orientation invite avoidable questions later. A sketch with a plane label and one or two reference photos lets an adjuster, desk reviewer, estimator, or production manager match a line in the report to a location on the structure.
Match photos to elevations and roof planes
Photos are most useful when they answer two questions: where is this, and what am I looking at? Begin with a wide exterior photo for each elevation, then capture medium photos that show the roof plane or feature, followed by close photos where detail matters. Name or label the files using the same elevation and plane convention as the sketch.
For example, a photo sequence might progress from “rear elevation” to “rear west plane” to “rear west valley detail.” That order provides context without requiring a reviewer to infer it from a close-up. If a contractor documents conditions for an insurance-related repair, the roof storm-damage service overview explains why a safe, organized inspection record is the better starting point than a sales-first conversation.
When a recent weather event is relevant, document the event date separately from the roof visit date. The NOAA Storm Events Database provides public records that can help establish a broader weather context by area and event type. It does not replace property-level observations or determine what happened to a specific roof, so avoid treating a database result as proof of condition.
Separate measurements from condition observations
Measurement information and condition observations are related, but they should not be blended into one unsupported conclusion. A report can state the measured area of a roof plane, the location of a vent, and the visible condition noted in a photograph. It should not use a measurement alone to declare the cause of a condition or the outcome of a claim.
Keep distinct sections for:
Dimensions and calculated area.
Material and configuration notes, such as shingle, metal, low-slope membrane, or mixed roof systems.
Visible conditions and their photo references.
Access limitations and items needing further review.
Scope inputs that are factual, such as detach-and-reset locations or documented penetrations.
This separation is especially important when more than one party uses the file. An estimator can work from dimensions. A field inspector can add observations. A homeowner can compare the report with what was visible at the visit. And an adjuster can evaluate the relevant policy and claim information without being asked to infer facts that are not in the record. Homeowners who are collecting documents can start with PerilBridge's homeowner guidance and the related roof inspection report guide.
Capture access, safety, and temporary-protection context
Roof measurements should never reward unsafe access. If an inspection requires fall protection, specialized equipment, a drone operator, or a return visit after weather clears, say so. A measurement report is more credible when it shows a disciplined decision not to create additional risk just to fill every blank.
If temporary protection is present, identify it on the sketch and in photos, then note when it was observed. Do not remove or disturb protective materials merely to create a cleaner image. If water is entering a building, homeowners should prioritize safe steps to prevent further damage and keep receipts and records. Ready.gov's recovery guidance recommends documenting damage and keeping records during recovery; those records should be organized without representing temporary work as a permanent repair.
For contractors, this is also a production handoff issue. The crew needs to know which areas were measured, which details were inferred, and which items need field confirmation before materials are ordered. A clear limitations note can prevent a measurement report from becoming an accidental work authorization.
Use a clean handoff package
Before sharing the report, assemble the documents in the order a reviewer is likely to need them: property reference sheet, roof sketch, measurement table, photo index, condition observations, source reports, and limitations. Use consistent file names and save the original measurement output alongside any edited summary. If a revision is made after a second visit, preserve the earlier version and explain what changed.
Contractors should resist the urge to turn a measurement package into a persuasive narrative. A neutral record travels better across contractor, homeowner, adjuster, carrier, and IA workflows because each person can locate the same facts. The strongest package answers ordinary questions early: Which plane is this? How was it measured? When was it observed? What photo supports the note? What still needs confirmation?
A practical roof measurement checklist
Confirm the property address, date, field contact, and weather or access conditions.
Create a labeled elevation key and roof-plane sketch before compiling numbers.
Record the measurement method, tool or report source, date, and units.
Identify all main and accessory roof areas separately.
Label ridges, hips, valleys, eaves, rakes, penetrations, and transitions where they affect the scope.
Pair each important observation with a wide, medium, and detail photo sequence when practical.
State which dimensions were direct, estimated, aerial, or still pending confirmation.
Separate factual measurements and observations from policy, pricing, or outcome questions.
Preserve original reports, photos, and revisions in the handoff folder.
The short version
Roof measurement documentation is not just a total-square calculation. It is a shared record that shows how a roof was mapped, what was observed, and what remains uncertain. For contractors and adjusters, a consistent sketch, measurement method, photo sequence, and limitations note reduce avoidable back-and-forth. For homeowners, they make the repair conversation easier to follow. PerilBridge connects insurance-driven repair workflows with vetted roofing and restoration contractors who value organized, factual documentation over unsupported promises.