A roof supplement documentation checklist gives contractors and adjusters a shared way to review work that was not clearly represented in the first estimate. The goal is not to turn every difference into a dispute. It is to show, in an orderly file, what condition was found, where it was found, how it was measured, and why the repair scope may need another look. Clear records help reviewers distinguish a supported scope question from a vague request for more money.
A supplement is generally a request to review estimate information after additional facts become available. It does not determine coverage, require approval, or replace the policy, carrier guidelines, local code research, or the adjuster’s evaluation. Contractors should describe physical conditions and proposed work accurately while leaving coverage decisions and policy interpretation to the appropriate insurance professionals.
PerilBridge’s contractor network overview and carrier workflow overview are built around the same principle: organized documentation makes field-to-desk collaboration easier. Use the checklist below before sending a new supplement package or responding to a reviewer’s follow-up questions.
What a complete roof supplement package should accomplish
A useful package lets a reviewer understand the issue without reconstructing the entire inspection from scattered messages. It should connect the observed condition to a location, quantity, photo, and estimate line item. When several issues are involved, each one should stand on its own so the reviewer can evaluate it separately.
Identify the property, claim reference, inspection date, contractor, and person preparing the documentation.
State the specific scope difference in plain language before presenting supporting material.
Tie measurements and quantities to labeled roof slopes, elevations, rooms, or components.
Use dated, labeled photos that show both context and relevant detail.
Separate newly discovered conditions from estimating corrections, code questions, and homeowner-selected upgrades.
Keep the estimate, narrative, photo report, and attachments consistent with one another.
This structure is useful whether the estimate is prepared in Verisk Xactimate or another estimating system. Software can organize quantities and line items, but it cannot substitute for field evidence or explain an unsupported assumption.
1. Start with the current estimate and a one-page issue summary
Begin with the latest estimate version, not an earlier draft. Record its date and version, then create a short issue summary listing each requested review item. For every item, include the existing scope, the proposed scope, the reason for the difference, the amount of quantity change if applicable, and the supporting attachment names. A reviewer should be able to scan this page and know exactly where to look next.
Avoid broad statements such as “missing roofing items” or “estimate is too low.” Those phrases do not identify a physical condition or a calculation. More useful wording is specific: the starter course is visible in removal photos but is not listed; the eave measurement differs from the diagram; or access conditions require a documented equipment review. Precision keeps the package factual.
2. Verify measurements, quantities, and roof geometry
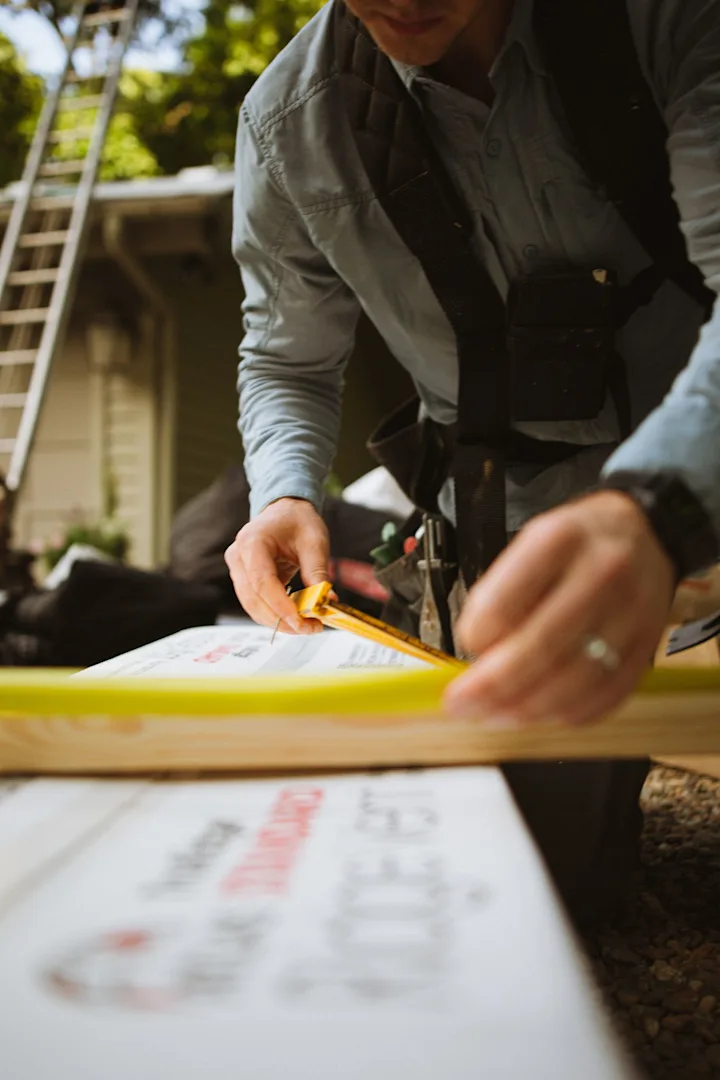
Measurement differences are easier to review when the source is clear. Include the roof report or field sketch, label every slope, and show how waste, ridge, hip, valley, eave, rake, flashing, and penetration quantities were derived. If the field measurement differs from an aerial report, identify the exact dimension at issue and include a photo or sketch showing the field method.
Roof area by slope, including pitch and stories.
Linear feet for ridge, hip, valley, eave, rake, and wall transitions.
Counts for vents, pipe jacks, skylights, chimneys, and other penetrations.
Gutter, downspout, fascia, soffit, and detached-component dimensions when relevant.
Waste assumptions explained separately from the measured roof area.
Do not mix measurement corrections with material upgrades. If the homeowner selects a product beyond the documented repair scope, identify that selection separately so it is not presented as storm-related work.
3. Build a photo set that moves from context to detail
A close-up without location context can be difficult to interpret, while a wide photo may not show the condition clearly. Pair the two. Start with an elevation or roof-plane overview, then add a medium-distance image and a close detail. Use captions that name the slope or component, direction of view, date, and the condition being documented.
For storm-date context, the NOAA/NCEI Storm Events Database is an authoritative historical weather resource. Weather records can establish reported event context, but they do not by themselves prove damage at a specific property. Field observations should remain property-specific.
Homeowners and contractors who need a broader documentation framework can also review PerilBridge’s insurance-claim roofing guide. The same habits—dates, labels, safe access, and unedited source files—support a cleaner record at every stage of the file.
4. Explain materials and components without overreaching
When a supplement involves product identification, include clear photos of shingle profile, exposure, seal strips, fasteners, underlayment, flashing, vents, and accessible manufacturer markings. Note where and when a sample was collected. If a laboratory or distributor report is used, attach the original report rather than paraphrasing only the conclusion.
Describe availability factually. A statement that a local supplier does not have an item in stock is different from evidence that a product is discontinued. Likewise, a visual similarity question is not automatically a coverage conclusion. Document the product information and let the reviewer apply the relevant policy, jurisdictional, and carrier standards.
5. Separate code research from physical damage documentation
If a proposed item is based on building code, cite the adopted code edition, section, local amendments, and the authority having jurisdiction. Include a permit-office source or written interpretation when available. Do not rely on a generic internet excerpt that may apply to a different state, municipality, code edition, or roof assembly.
Name the jurisdiction and adopted code edition.
Quote or summarize the relevant section accurately and retain a source copy.
Explain the existing assembly and why the cited provision may apply to the proposed work.
Keep code-required work distinct from damage caused by the reported event.
Recognize that coverage for ordinance-or-law costs depends on policy terms and claim evaluation.
6. Document access, safety, and job conditions
Steep slopes, multiple stories, fragile surfaces, limited staging space, electrical hazards, and occupied areas can affect how work is performed. Document the condition with photos and a concise explanation. Do not create unsafe demonstrations merely to support a line item. Field teams should follow their safety program and applicable requirements, including OSHA construction fall-protection guidance.
Safety documentation should describe the actual work condition rather than use a boilerplate surcharge. When specialized equipment or additional protection is proposed, explain the site-specific reason and keep rental periods, labor assumptions, and invoices consistent.
7. Use invoices and third-party documents carefully
Invoices, quotes, permits, engineering reports, moisture logs, laboratory reports, and disposal tickets may support parts of a supplement. Submit complete, legible documents and identify which issue each attachment supports. Remove unrelated personal information when appropriate, but do not alter material facts, dates, quantities, or vendor details.
A quote is not the same as an incurred invoice, and an invoice is not automatically evidence that a charge is covered. Label each document accurately. If a cost changed after the first estimate, explain when the change became known and whether it reflects scope, quantity, market pricing, or a customer choice.
8. Run a consistency review before submission
Most avoidable delays come from contradictions inside the package. Before sending, compare the narrative, estimate, measurements, photo captions, invoices, and requested total. Confirm that slope names match, quantities reconcile, attachments open, and every cited document is included. Remove duplicate photos and unrelated material that make the core issue harder to find.
Confirm the claim and property identifiers on every document.
Use the latest estimate version and name the prior version being compared.
Check that each requested item has a factual reason and at least one supporting reference.
Reconcile measurements, quantities, unit assumptions, taxes, and totals.
Verify photo labels and attachment names against the issue summary.
Proofread for statements that imply authority to interpret coverage or negotiate for the policyholder.
Common reasons a roof supplement is difficult to review
A package can contain many pages and still be incomplete. Volume is not the same as clarity. The following patterns commonly create extra questions because the reviewer cannot connect the request to the property condition or estimate calculation.
A revised estimate with no comparison summary.
Unlabeled photos or screenshots without dates and locations.
Aerial and field measurements that differ without an explanation.
Code citations that omit the jurisdiction or adopted edition.
Retail upgrades blended into the documented repair scope.
Repeated requests sent through multiple channels with different totals.
Statements about what an insurer must cover instead of facts about the observed condition.
A better field-to-desk handoff
The strongest supplement package is usually the easiest one to navigate. It starts with a narrow question, presents traceable evidence, and respects the separate roles of contractor, adjuster, carrier, and policyholder. That discipline helps the contractor explain the work found in the field and helps the reviewer evaluate each item against the file.
For more information about documented roof-loss workflows, visit PerilBridge’s roof storm-damage service page. Carrier and contractor teams evaluating a structured referral workflow can contact PerilBridge to discuss geographic coverage, documentation expectations, and vendor-readiness criteria.