Ice dam roof leaks can leave homeowners with two urgent questions: where is the water coming from, and who should inspect it? Start by keeping people away from unsafe areas, contacting appropriate professionals, and recording what you can observe without climbing. A useful file connects the outdoor winter conditions with the first indoor symptoms, the inspection findings, and the work performed. It does not turn an icicle photograph into a diagnosis or a prediction about insurance coverage.
This guide explains what to record, which questions to ask, and how to keep roof inspection, interior drying, and longer-term prevention organized. PerilBridge's homeowner roofing support explains how contractor documentation fits into the repair process. Report a potential claim directly to your insurer and ask about its reporting instructions while you arrange appropriate help for active water entry.
Understand what an ice dam is
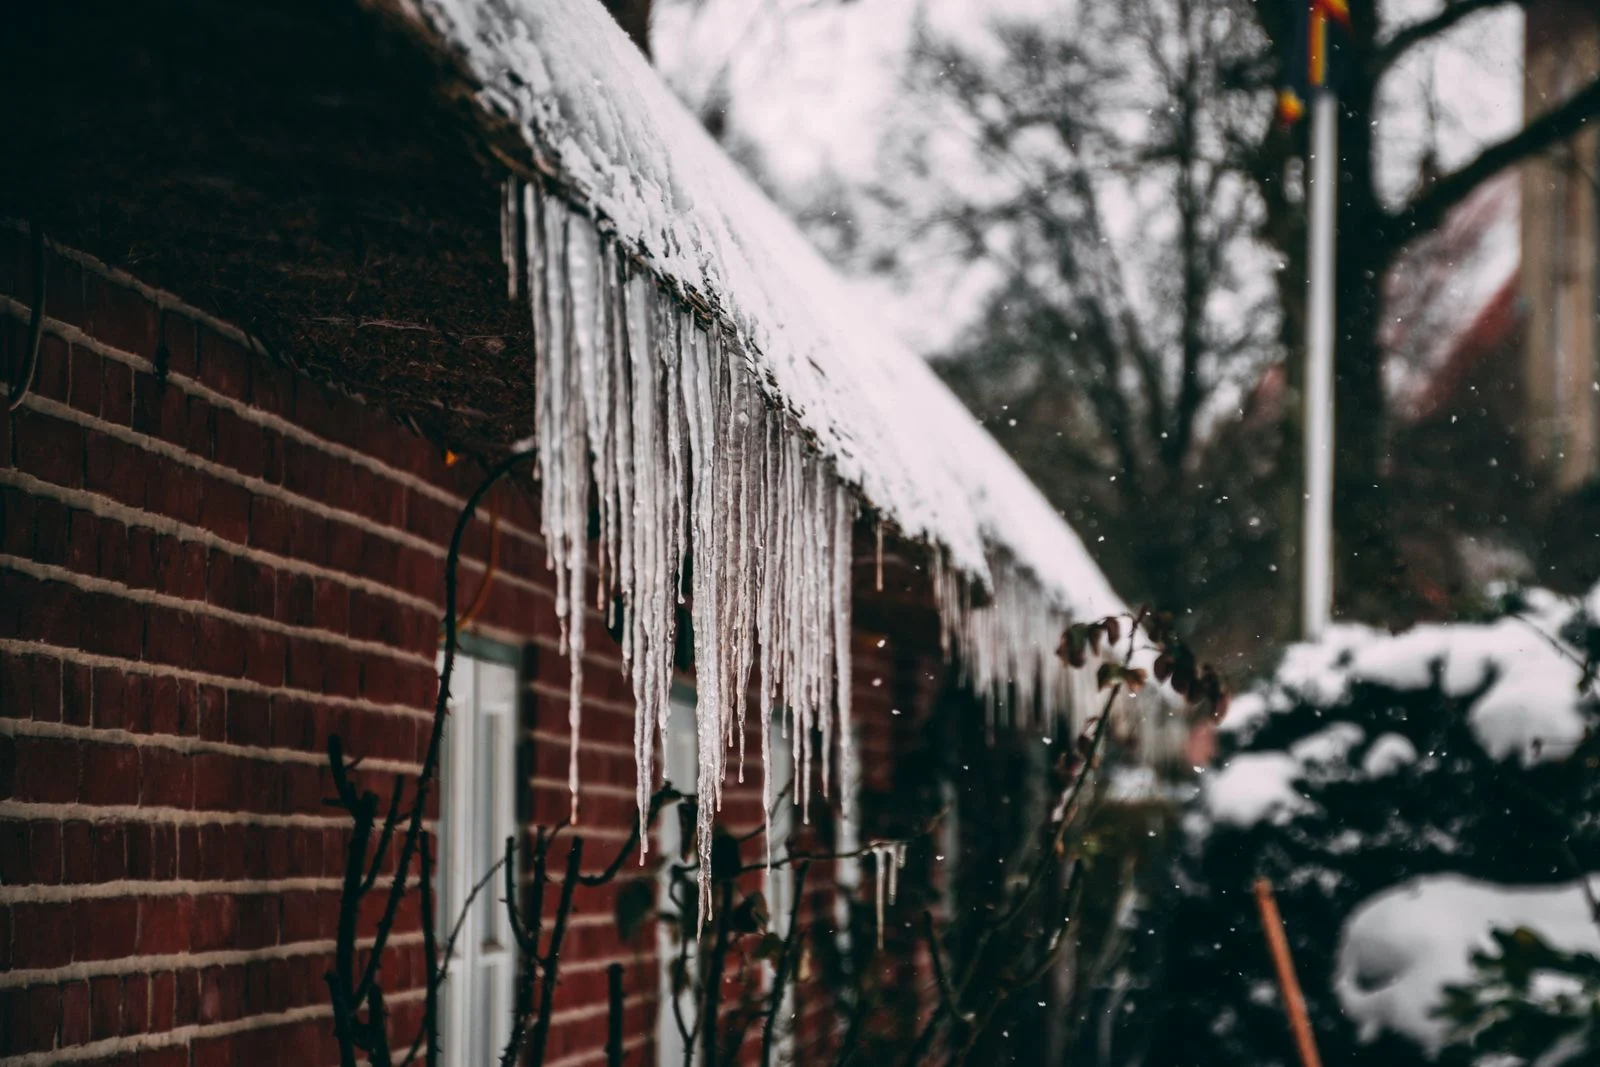
An ice dam is a buildup of ice that obstructs the movement of melting snow near a roof edge. When part of a snowy roof is warmer than the edge, meltwater can reach the colder area and freeze. Water behind that obstruction may find a route into the building. University of Minnesota Extension's ice dam guidance explains this temperature pattern and why heat escaping from a home can contribute.
Treat visible icicles as an observation to investigate. A photograph alone cannot establish the water's entry point, the condition beneath the roof covering, or the extent of interior moisture. Ask the inspector to explain how the outside observations relate to the affected room and what remains uncertain. Use descriptions such as "water appeared near the bedroom window after snowmelt" until the cause has been assessed.
Put safety ahead of photographs
Do not climb an icy ladder or walk on a snow-covered roof to improve the documentation. Keep away from hanging ice and areas where snow may slide. Do not stand beneath a bulging ceiling, enter an unstable attic, or touch electrical equipment affected by water. If there is an immediate threat to people, leave the unsafe area and contact emergency services. Tell responding contractors about hazards before they arrive.
Avoid improvising ice removal with impact tools or open flames. Ask a qualified professional to assess the roof and choose an appropriate method for the conditions. Winter access may limit what can be inspected immediately; the report should identify those limits and any planned return visit. A deferred close-up is more useful than a photograph obtained through unsafe access.
Build a short winter-event timeline
Write down when you first noticed snow accumulation, visible ice at the eaves, and indoor water. Distinguish events you personally observed from dates supplied by someone else. If the exact start of the leak is unknown, say so. A discovery date is still useful, and inventing an earlier date makes the file harder to trust.
A simple timeline can include these entries:
The date and time a stain, drip, or wet material was first noticed.
The room, wall, window, or ceiling area involved.
Whether water entry appeared continuous or changed during warmer periods.
When a contractor was contacted, arrived, inspected, and performed work.
When the next observation was made and what changed.
Save relevant weather alerts or observations with their location and date. Weather records provide context, while property observations explain what happened at the home. Do not substitute a regional snowfall total for an inspection finding about a particular roof.
Photograph locations so another person can follow them
From a safe position, begin with an exterior overview showing the building elevation. Then capture the affected roof edge with zoom if available. Include nearby features that establish location, such as a window, chimney, corner, or downspout. Indoors, photograph the whole room before taking closer images of staining or wet finishes. Avoid photographing household members or private documents unnecessarily.
Give each area a consistent label: "rear elevation, second-floor bedroom" is easier to understand than "leak photo." Keep original files with their timestamps and save annotated copies separately. A useful sequence includes the first visible condition, the condition after emergency work, and any later change. If a contractor captures attic or rooftop images, request labels that connect those images to the same room and elevation names.
For the broader photo organization process, see PerilBridge's guide to documenting roof storm damage. Add winter-specific observations to that structure instead of building separate folders that cannot be matched.
Ask for an inspection that explains uncertainty
Before the visit, send the contractor a brief description of the leak and the timeline. Ask whether the inspection will address the roof exterior, accessible attic areas, and the connection to interior symptoms. Confirm what access is safe and whether weather prevents any part of the assessment. An inspection report should distinguish conditions actually seen from possible explanations that need further investigation.
Useful questions include:
Which observations support ice-related water entry at this location?
Which roof or flashing areas could not be examined?
Is another trade needed to investigate a different possible source?
What temporary work is proposed, and what does it leave unresolved?
What follow-up is needed after snow and ice clear?
These questions ask for evidence and next steps. They do not ask the contractor to determine policy coverage. PerilBridge's roofing inspection report guide can help homeowners evaluate the organization of a written report, including photos and stated limitations.
Keep exterior work and interior drying connected
Stopping visible dripping does not by itself document the condition of concealed materials. If interior materials are wet, ask a qualified restoration professional what assessment and drying work are appropriate. Do not open walls or disturb suspect materials simply to collect photographs. Record the professional's findings, affected areas, and any access restrictions in the same file as the roof inspection.
Request an itemized description of emergency work, dates of service, and the location where each service was performed. Preserve receipts and invoices. When equipment is used, keep the provider's placement and monitoring records. When materials are removed, request photographs and a written description from the contractor, where safely obtainable. PerilBridge's water mitigation documentation checklist provides a fuller structure for the interior portion of the file.
Separate the immediate response from prevention planning
A winter response and a prevention project may involve different people and different scopes. The roofer may assess roof details and temporary protection, while an energy or weatherization professional evaluates heat and air movement. Ask each provider to state what its proposal addresses, how it coordinates with the other work, and what assumptions it makes about the building.
The Department of Energy's attic air-sealing guidance describes sealing air leakage paths before insulating existing vented attics. Bring that principle to a professional assessment rather than treating additional insulation as an automatic solution. Attic configuration, ventilation, and equipment details need to be evaluated together by someone qualified for the work.
The National Weather Service's ice dam prevention guidance also discusses roof drainage, insulation, and ventilation. Use these resources to prepare questions for a contractor. Keep a future prevention proposal separate from the documentation of the current leak so reviewers can distinguish observed damage, immediate services, repairs, and optional improvements.
Give each participant a clear next action
After each visit, add a brief status note: what was observed, what was done, what remains unresolved, and who will follow up. For example, "Temporary service completed Tuesday; rear bedroom ceiling still needs moisture assessment; restoration provider will call Wednesday" is more useful than "roof handled." Identify scheduling dependencies such as weather, safe access, or a second trade's findings.
For insurance questions, communicate directly with the insurer or its assigned representative. A contractor can document physical conditions and explain proposed work; the insurer reviews the claim under the applicable policy. An estimate or completed service does not establish coverage or payment. Keep written communications with the file and ask for clarification when requested documents or next steps are unclear.
PerilBridge can help route roofing repair work to vetted contractors familiar with documentation requirements. Use the contact page to discuss the property and available coordination support. A clear timeline, labeled photographs, and a specific follow-up question give the next professional a practical place to begin.