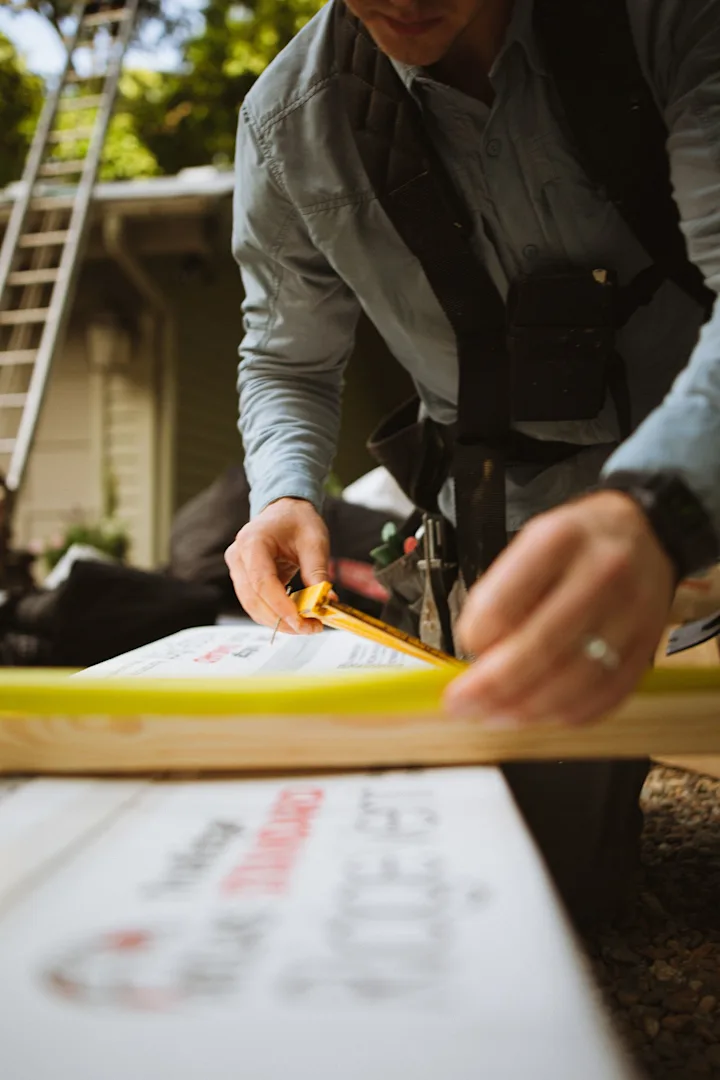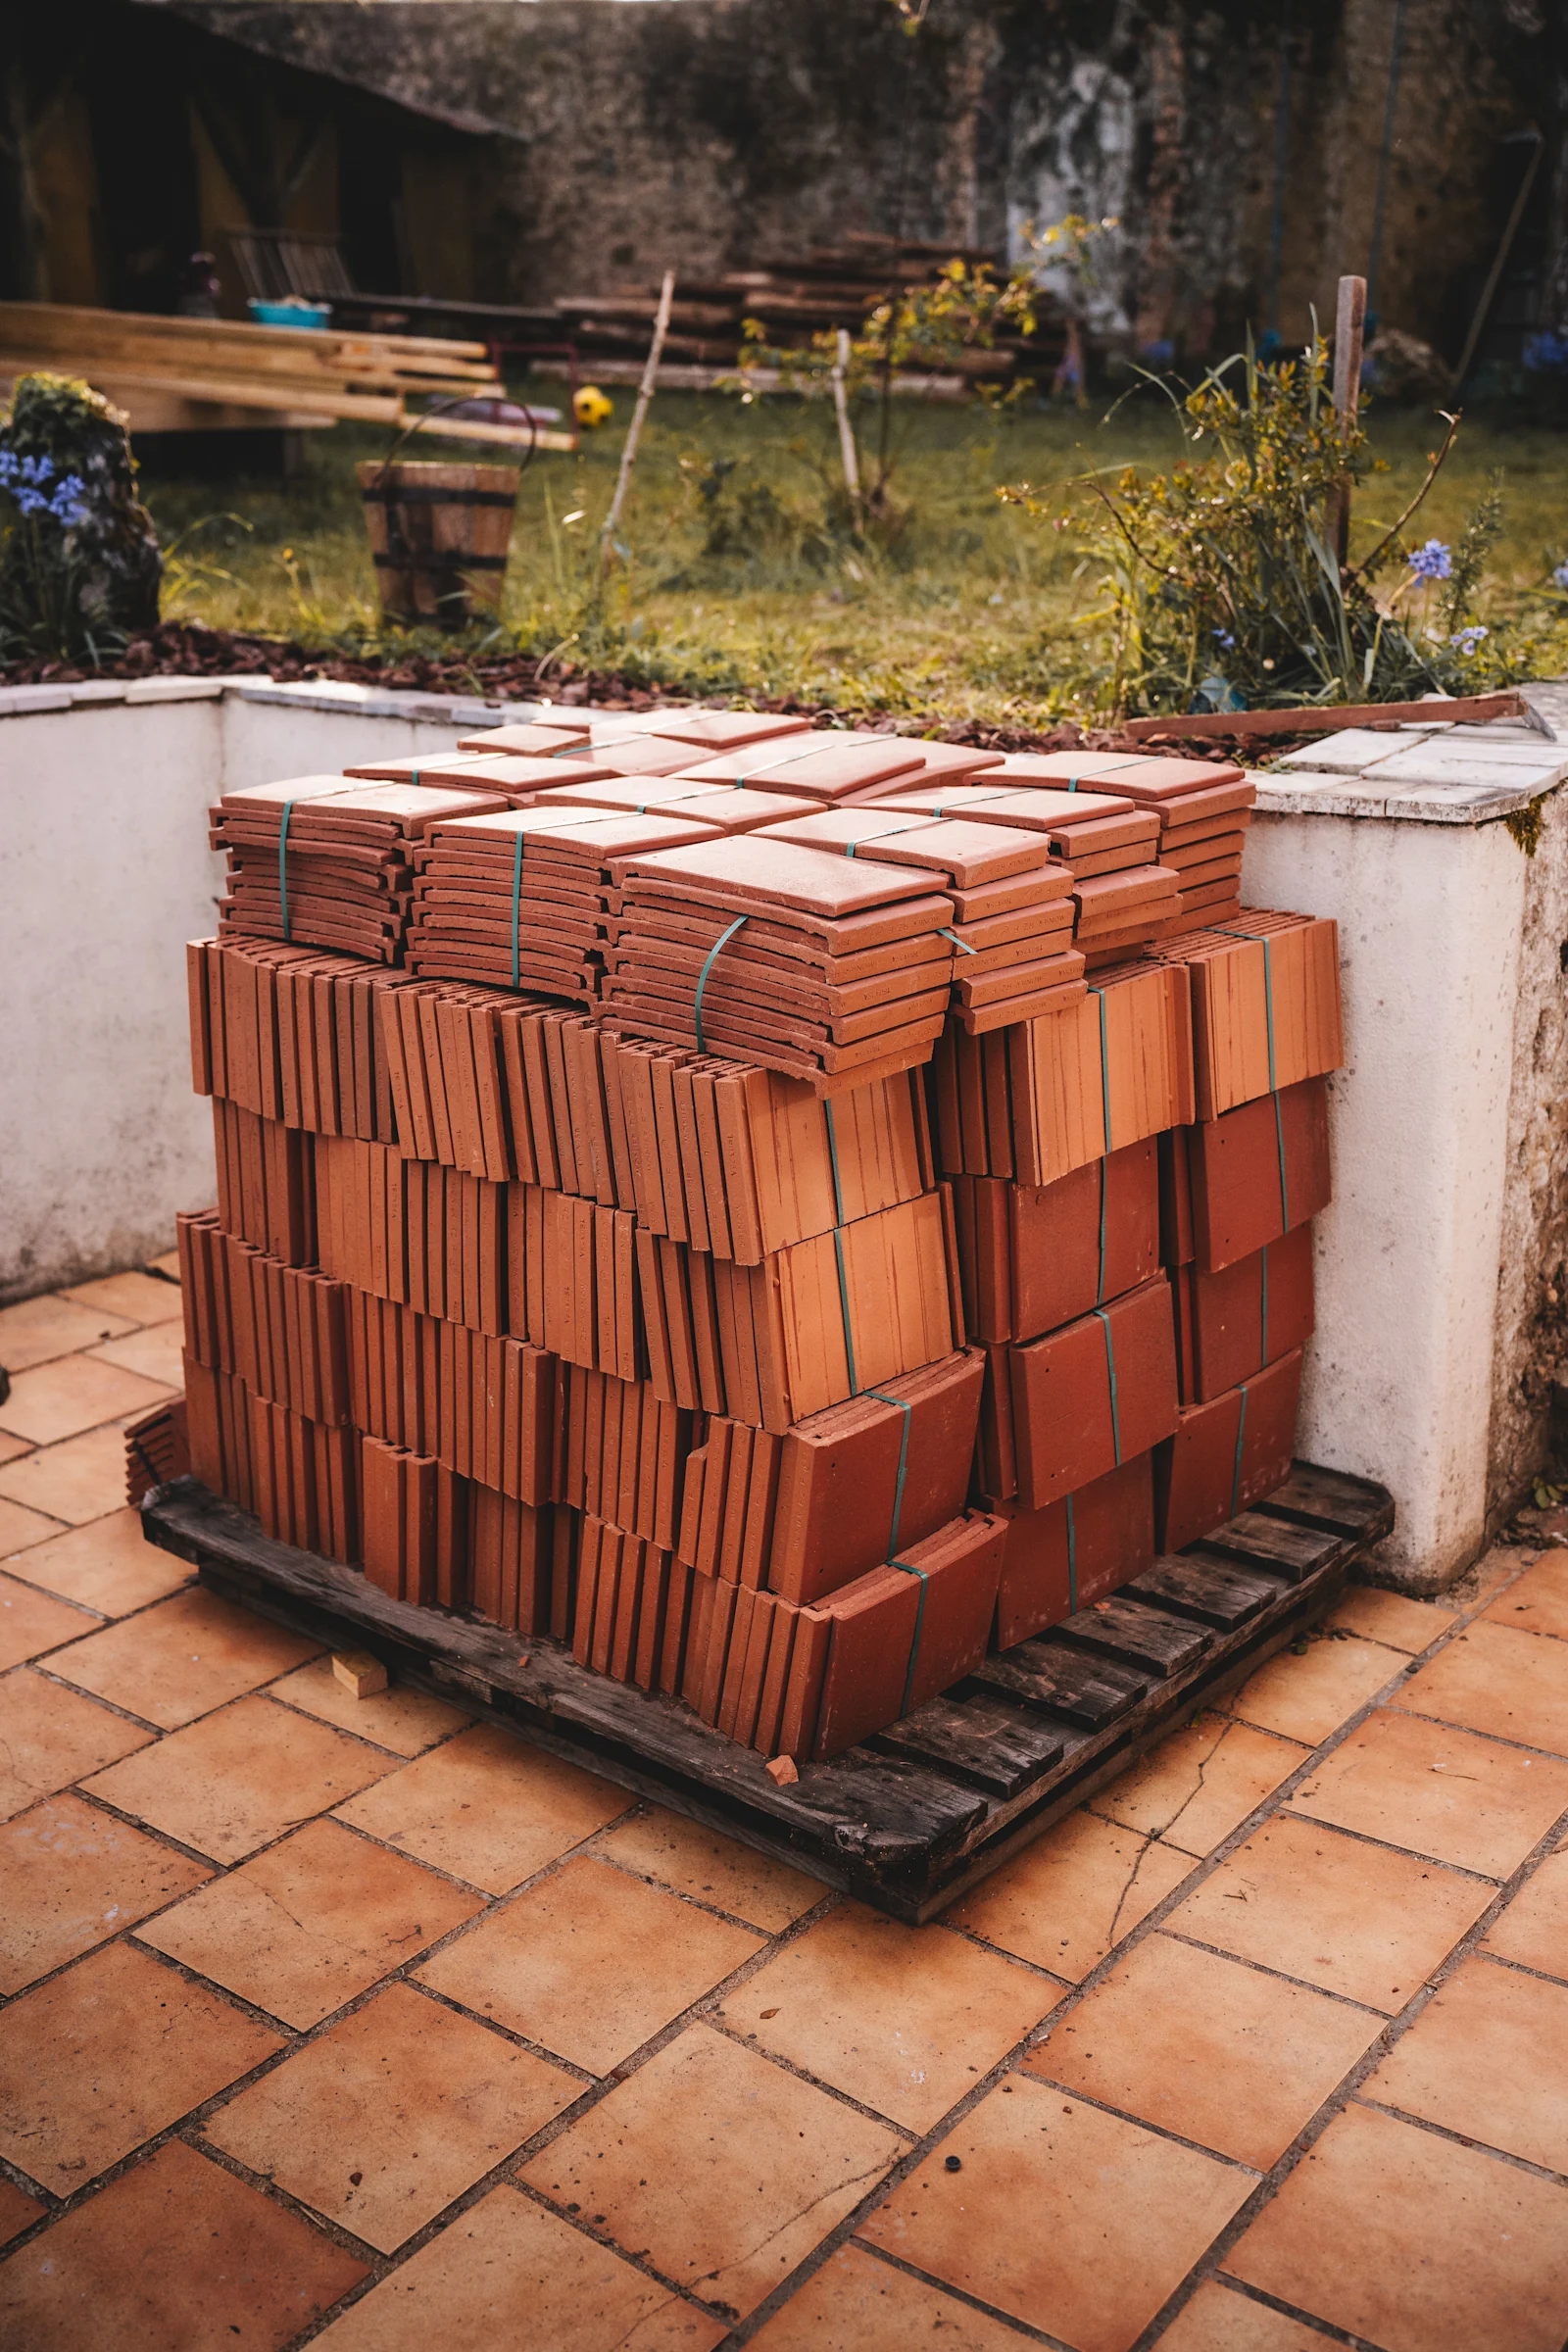
Roof material delivery documentation gives contractors and adjusters a shared record of what arrived, when it arrived, and where it was staged. For a repair or replacement project, the point is not to interpret policy terms. It is to keep routine field facts—delivery tickets, product labels, counts, photos, and condition notes—organized enough that a project team can compare them with the approved scope and current site conditions.
This roof material delivery documentation checklist is designed for roofing contractors, independent adjusters, and carrier vendor-management teams working on insurance-driven repairs. A simple, repeatable record reduces avoidable follow-up when material is delivered before a site visit, after a weather delay, or while multiple parties are coordinating a repair. It also helps homeowners understand what has been delivered without asking them to interpret policy language or construction requirements.
Start with a single project identifier
Before a truck arrives, use one project identifier across the delivery ticket, photo folder, work order, and field notes. That identifier can be an internal job number or assignment reference; it should not require a homeowner's policy number in a shared photo filename. Add the property address only where the team already uses it securely, and record the date, delivery window, and the person who accepted or observed the delivery.
The goal is traceability, not an elaborate reporting system. A contractor that works with carrier-facing workflows can align the identifier with its assignment and closeout records. Teams evaluating network readiness can compare this habit with the broader operational expectations described in PerilBridge's contractor network overview.
Record what the delivery ticket says
Save the original delivery ticket or a clear scan of it. Capture the supplier name, ticket number, date, material description, unit of measure, quantity delivered, and any backordered or substituted items. If a product name is abbreviated, photograph the package label rather than expanding it from memory. A ticket is evidence of a delivery record; by itself, it does not establish that every item was installed, necessary, or connected to a particular loss.
For contractors, compare the ticket with the current estimate or work order before material is opened or moved. For adjusters, a copy of the ticket can be one factual input among inspection findings, scope notes, and other documentation. Keep the comparison factual: note differences for review, identify who should clarify them, and avoid characterizing the result as a claim outcome.
Photograph the materials before they are dispersed
Take a short, consistent photo set soon after delivery when it is safe to do so: a wide photo showing the pallet or staging area, medium photos showing grouped bundles or boxes, and close-ups of labels, lot information, or visible damage. Include enough surroundings to show the materials are at the project location without photographing unrelated personal property. Do not climb on pallets, enter a traffic lane, or work around overhead hazards just to obtain a photo.
Federal emergency-management guidance similarly treats photographs, dimensions, material information, and location context as useful ways to document observed conditions. The FEMA Damage Assessment Operations Manual is written for public damage assessment rather than private insurance claims, but its emphasis on clear, location-aware documentation is a sensible model for organizing factual site records.
Note visible condition and staging facts
Use plain language to record observable facts: bundles intact, wrapping torn, cartons wet, items placed in a driveway, materials covered, or a portion of the order absent. If the delivery is not accessible to the crew or appears unsafe to move, say that rather than guessing at the cause. Weather may matter to staging and safety, so teams can reference current local guidance from the National Weather Service's wind-safety resources before handling materials outdoors.
This separation of facts from conclusions is especially helpful after a storm. A delivery photo should show the materials and the scene as they were found, not attempt to prove cause, coverage, quality, or completion. For homeowner-facing work, PerilBridge's roof storm-damage service guidance explains the value of organized documentation while keeping the decision-making roles clear.
Use this field checklist
Project identifier and delivery date/time window recorded.
Supplier delivery ticket saved in its original form.
Material descriptions, quantities, units, and substitutions captured from the ticket.
Wide, medium, and label-detail photos taken from a safe location.
Visible packaging condition and staging location noted without speculation.
Missing, damaged, substituted, or inaccessible materials flagged to the appropriate project contact.
Delivery materials filed with the project record so they can be found during scope review or closeout.
Keep product details separate from installation verification
Delivered material is not the same as installed material. Create a second record for installation progress, such as dated work-area photos, inspection notes, manufacturer instructions, and any required permits or inspections. For resilient roof projects, the IBHS FORTIFIED technical documents and checklists illustrate how specific construction details may require their own verification. Those documents do not replace local code requirements, manufacturer instructions, or the project's approved scope.
This distinction keeps conversations productive. A contractor can explain what is on site and what remains to be completed. An adjuster can review inspection and scope records in the appropriate workflow. A carrier team can see whether a vendor has a consistent documentation process without treating a single photo set as a measure of workmanship.
Handle discrepancies with a documented handoff
When a count, material description, or condition differs from expectations, create a concise handoff note: what was observed, the ticket reference, the relevant photos, the date, and the person asked to review it. Avoid editing the original ticket or overwriting images. If a corrected ticket or replacement delivery follows, keep it as a separate record and link it to the earlier note.
For carrier-side operations, this is the kind of repeatable evidence trail that supports clean vendor coordination. PerilBridge's carrier workflow overview focuses on visibility into contractor documentation and project milestones. For homeowners, the practical next step is usually to keep copies, ask the contractor which items are scheduled next, and use the claim and inspection intake page when they need help starting an organized project conversation.
Make the record easy to retrieve at closeout
A delivery record works only if the people who need it can find it later. Store the ticket, photos, discrepancy notes, and follow-up confirmations in the same project folder or platform used for field documentation. Use a naming pattern that sorts naturally, such as project identifier, date, and document type. Limit access to people who need the information, and avoid placing sensitive personal details in public-facing filenames.
The broader insurance-claim roofing guide at PerilBridge's homeowner resource center offers context on keeping records organized throughout a project. The practical takeaway is straightforward: record the delivery accurately, distinguish delivery from installation, communicate discrepancies promptly, and preserve the original documents. That discipline helps every participant work from the same factual record without making promises about coverage, payment, or repair outcomes.