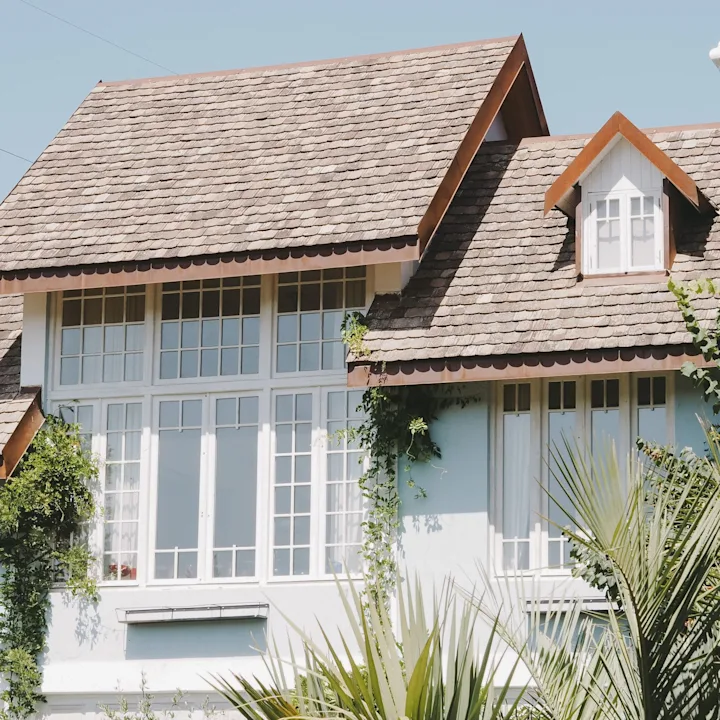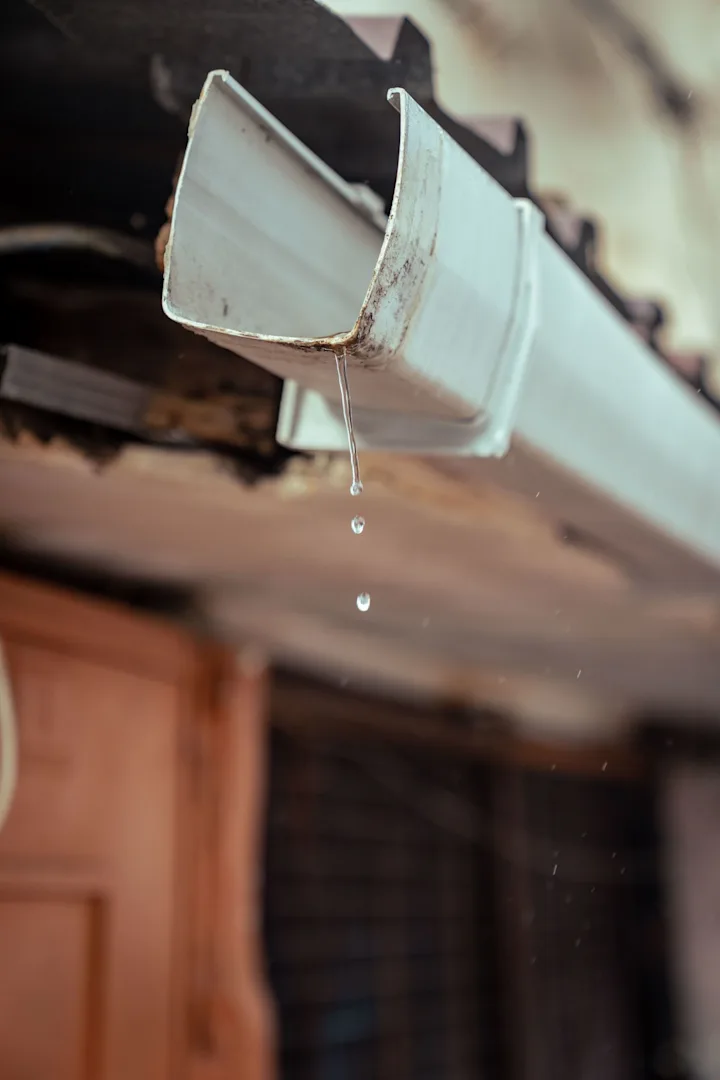
Wind-damaged roof flashing can be easy to miss from the yard and hard to explain later if the observations are scattered. Flashing is the metal or other weatherproofing material that helps direct water away from roof transitions: chimneys, walls, skylights, valleys, vent penetrations, and roof edges. After a high-wind event, a homeowner does not need to diagnose the cause or decide what work is needed. The useful first step is to record clear, safely gathered facts before a professional inspection.
This checklist is for homeowners who notice a lifted edge, displaced metal, a new stain, debris near a roof transition, or an unfamiliar drip after wind. It is not a substitute for a roof inspection, building-code review, or insurance-policy interpretation. If you are organizing the full sequence from weather event to inspection, start with PerilBridge’s insurance-claim roofing guide.
Why flashing deserves its own documentation set
A roof can look broadly intact while a small transition detail is no longer seated as it was before the weather event. Flashing details sit where roof planes meet other materials, so their condition can affect how water is managed around those intersections. The point of documentation is not to draw a conclusion from one photo. It is to make the location, condition, and timing legible to the people who inspect the property.
The joint Roofing Industry Committee on Weather Issues and Insurance Institute for Business & Home Safety roof guide explains that roof condition assessments consider design, installation, maintenance, weathering, and observed conditions together. That is a useful discipline for a homeowner as well: record what is visible, separate it from assumptions, and let qualified reviewers evaluate the full context.
Start safely and record the weather context
Do not climb onto a roof, lean a ladder against an unstable edge, or enter an area with downed lines, loose materials, standing water, or active leaks near electrical equipment. Take photos from the ground, a window, an accessible balcony, or another safe location. If conditions are unsafe, a professional can gather higher-elevation images later.
Write down the date and approximate time you first noticed the condition, along with the storm window you believe may be relevant. The National Weather Service’s high-wind safety guidance is a good reminder that wind events can leave hazards after the weather has passed. Keep the note factual: ‘metal trim appeared raised at the chimney side after the evening wind,’ rather than ‘the storm caused the roof failure.’
Date, approximate time, and property address for the observation.
The roof area in plain language: front-left roof-to-wall transition, rear chimney, skylight side, valley, vent, or eave.
Visible condition: lifted, bent, separated, missing, corroded, stained, or obscured by debris.
Any interior observation nearby, such as a ceiling stain, damp drywall, or a drip, with its room and location.
Whether temporary protection, cleanup, or an emergency service visit occurred, including date and receipt.
Build a photo set that establishes location before detail
A close-up can show a bent edge, but it often cannot show where that edge is on the property. Use a consistent wide-to-close sequence. Keep original files when possible, because the device date and full image can be more useful than a cropped screenshot. Photograph only from safe access points and avoid moving loose material just to improve the picture.
Take one wide photo of the side of the house or roof slope so a reviewer can orient to the location.
Take a medium-distance photo showing the flashing in relation to the chimney, wall, skylight, vent, valley, or roof edge.
Take a close photo of the observed condition, such as separation, lifting, deformation, open sealant, or debris.
If it is safe to do so, take a second angle that shows depth or the direction of the lifted material without touching it.
Photograph any related interior condition separately, with a wide room view followed by a closer view of the stain or moisture sign.
FEMA’s guidance on documenting damage after severe weather recommends taking photos and videos before discarding damaged material and retaining related receipts. For roof flashing, that supports a clean record of what was seen before routine cleanup, temporary protection, or repair activity changes the scene.
Name the roof feature without overstating what it means
Use plain descriptive labels. If you know the feature, terms such as step flashing, counterflashing, valley flashing, pipe boot, drip edge, or wall flashing can be helpful. If you do not know the term, describe the location instead: ‘metal at the lower side of the chimney’ or ‘edge trim above the garage door.’ A photo filename or note such as ‘rear-south wall transition, 9:15 a.m.’ is more useful than a general label like ‘roof damage.’
Avoid turning a photo log into a conclusion. A lifted-looking edge may have several possible explanations, and a water stain can have a path that is not obvious from the room below. The job of the early record is to preserve observations for a roofer, restoration professional, adjuster, or other qualified reviewer—not to establish causation, scope, code requirements, or insurance terms.
Keep temporary protection records separate and complete
If water is entering the home or a condition needs prompt attention, record the problem before temporary work begins when it is safe to do so. Then keep the work order, invoice, dated photos, and a short note describing what was done. For example, distinguish ‘temporary cover installed over exposed transition’ from ‘permanent repair completed.’ That distinction helps everyone understand the condition of the property at each stage.
PerilBridge’s emergency roof tarp overview explains the role of temporary protection in the broader response process. A temporary measure may help manage an immediate condition, but it should not be treated as a final diagnosis or a substitute for an inspection.
Prepare a concise inspection packet
An inspection goes more smoothly when the observations are easy to find. Create one folder labeled with the address and date range. Add your weather note, wide-to-close photos, interior photos if applicable, any prior inspection record that is relevant, and receipts for documented temporary work. A one-page timeline is often enough: weather event, first observation, temporary action, and inspection appointment.
If you are ready to request help organizing an inspection, PerilBridge’s homeowner claim-inspection intake provides a structured place to begin. You can also review the roof storm-damage service overview to understand the types of roof conditions that are commonly documented after severe weather.
Give the professional the facts they need
At the inspection, point out the roof areas and interior locations you documented, then provide the timeline and photo folder. Good questions are practical: Which photos match the areas you need to see? What additional angles or measurements would help? Is there a safe way to document areas that were not visible from the ground? What should be recorded if the condition changes before the next visit?
Keep the conversation centered on observable conditions and the inspection process. A contractor can explain a proposed scope of work and supporting documentation; an insurer or its representative handles insurance decisions. For a related look at how wind observations differ from hail indicators, see PerilBridge’s guide to hail versus wind roof damage.
Use resilient-roof resources as context, not a diagnosis
Technical references can help homeowners understand why details around roof transitions matter, but they do not replace a property-specific assessment. The FORTIFIED technical documents include resources on steep-slope flashing and roof-system details. They are useful background when discussing installation practices or future work with a qualified professional, not a finding about the condition of any particular roof.
A simple checklist for the day you notice it
Stay off the roof and keep clear of storm hazards.
Write a factual weather and observation timeline.
Photograph the roof area wide, medium, and close from safe locations.
Label each image by roof area or nearby feature.
Record related indoor observations separately.
Keep invoices, photos, and notes for any temporary protection.
Bring one organized folder to the inspection and ask for any missing documentation.
Wind-damaged roof flashing documentation is most useful when it is calm, specific, and complete. A clear set of dated observations will not answer every question on its own, but it gives qualified professionals a reliable starting point for reviewing the property safely and consistently.