Roof repairability assessment is the practical question that comes before a complete scope is written: can the affected roof components be restored with localized work, or does the observed condition call for a broader evaluation? The answer depends on the roof system, the observed damage, available matching materials, installation details, local requirements, and safe access. It is not a coverage decision. A well-organized record helps homeowners, adjusters, and contractors discuss the same conditions without relying on a single close-up or a verbal summary.
This guide is for homeowners preparing for an inspection and for field professionals organizing their findings. It explains what to record before a scope is drafted. It does not tell a homeowner to diagnose damage, direct repair work, or interpret a policy. A qualified contractor can explain a proposed repair method, while the insurer handles policy and claim questions. PerilBridge's homeowner resources explain how to request a claim-ready inspection through its vetted contractor network.
Start with the roof system, not the conclusion
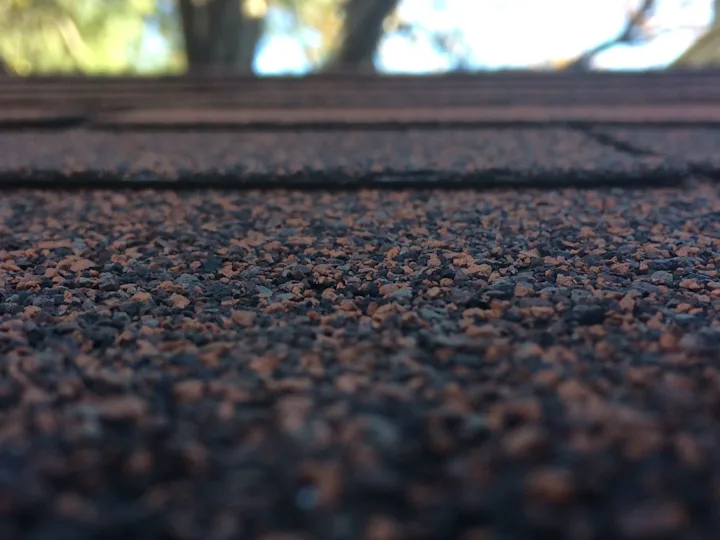
Repairability begins with a clear description of what is already on the building. Record the covering type, approximate roof age if known, roof slopes, penetrations, transitions, and earlier repairs. A photo of a damaged shingle is useful, but it does not show whether that shingle is part of a continuous field, a valley, a ridge, a starter course, or a transition to another material. Orientation matters because repairs interact with surrounding courses, flashing, and drainage details.
Create one overview image for each roof elevation or slope from a safe viewpoint. Then use medium-range images to show the affected area in relation to a vent, valley, ridge, eave, or other stable landmark. Close images can document a crease, puncture, missing tab, exposed fastener, or displaced flashing. This wide-to-close sequence gives the later reviewer a way to locate each condition.
The Insurance Institute for Business & Home Safety roof guidance is useful background for why roof details such as edges, coverings, and attachments should be evaluated as a system. That does not turn a field photo into an engineering finding. It does reinforce a simple practice: record the connection between the observed condition and the surrounding assembly.
Make the observation record traceable
An inspection record should allow another person to understand what was seen, where it was seen, and when the observation occurred. Use the inspection date, property address, roof slope label, and a photo identifier consistently. If a contractor uses a drone, pole camera, ladder-assisted view, or roof-level inspection, note the method. Do not ask anyone to climb onto a roof solely to create documentation.
Label slopes in plain language, such as front, rear, north-facing, or garage roof, and keep that label unchanged throughout the report.
Note the condition observed without assigning a cause too early: "lifted tab near ridge" is clearer than "storm damage" before the full inspection is complete.
Capture adjacent undisturbed material so a reviewer can compare the affected area with the surrounding roof.
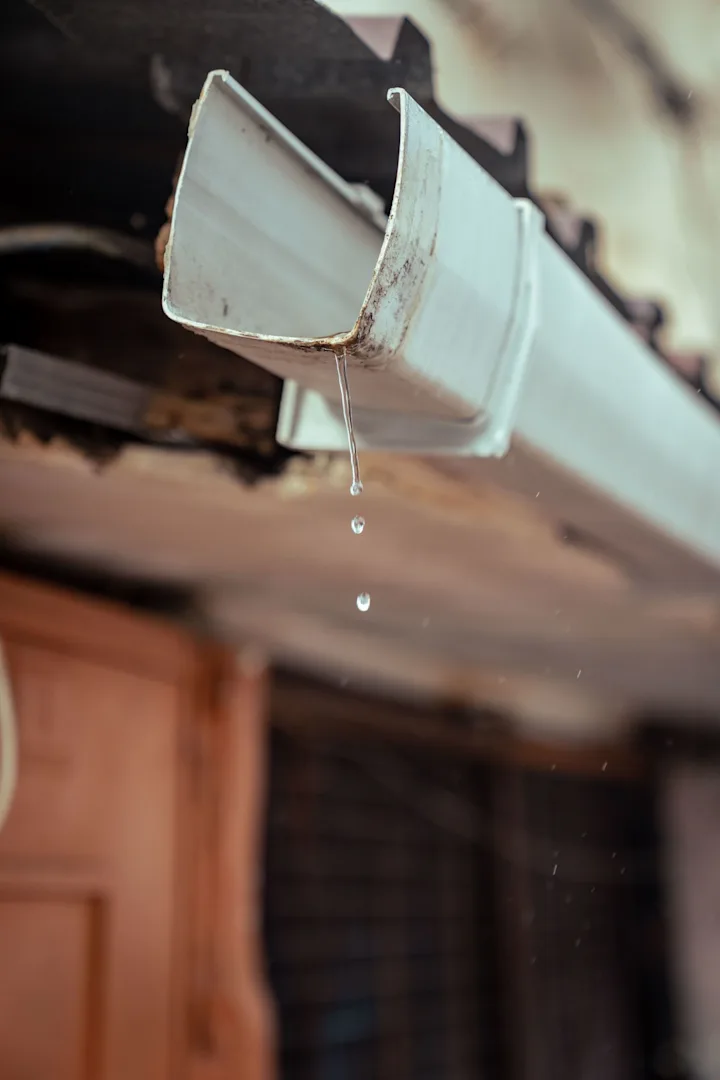
Photograph related components, including flashing, vents, gutters, skylights, valleys, ridge caps, and interior staining when safely accessible.
Preserve original photos and file dates. Edited screenshots can be useful for a presentation, but they should not replace the original files.
For a broader homeowner photo workflow, see PerilBridge's roof storm-damage documentation guide. The goal is not to collect the largest number of photos. It is to create a file that is easy to orient and review.
Identify the repair area and its boundaries
Localized repair is evaluated in context. A technician may need to remove surrounding material to access a damaged component or to re-establish a weather-shedding sequence. Record any boundary that affects the proposed work: a ridge intersection, valley, wall flashing, chimney, skylight, roof-to-wall condition, or a prior patch. Those details help prevent a scope from describing a repair as isolated when its installation path is not.
Ask the inspector to describe the proposed repair area in writing. Useful questions include which components would be disturbed, how replacement material would be integrated, and whether the work would affect flashing or underlayment. A homeowner does not need to decide the method; the written explanation simply establishes what the contractor observed and intends to address.
If a roof is actively leaking, temporary protection and documentation may need to occur before a complete inspection. PerilBridge's emergency roof tarp service describes how to request help protecting a roof while records are organized. Save photos and invoices for any temporary work, and keep the temporary measure separate from a final repair recommendation.
Record material availability and visual consistency carefully
Material availability is one factor in repairability, but it is not a shortcut to a conclusion. Record manufacturer labels, bundle wrappers, spare materials, product identifiers, and invoices if they are available. Do not remove materials or contact a manufacturer solely to create evidence without guidance from the qualified professional handling the work.
Visual consistency can also require careful documentation. Color, profile, weathering, and installation orientation can make a new component look different from existing material. A photo taken in one light condition may not show the same variation seen from the ground or from a neighboring slope. Take overview photos in ordinary daylight when possible and retain any sample or material information the contractor used for comparison.
The National Roofing Contractors Association's consumer resources recommend working with qualified roofing professionals and understanding the proposed work. In a repairability discussion, that means asking for a clear explanation of the specific material, installation, and access considerations—not a promise about what an insurer will decide.
Separate condition evidence from scope evidence
Condition evidence records what is present at the property: displaced shingles, flashing conditions, moisture indicators, prior repairs, or affected interior finishes. Scope evidence records how a contractor proposes to address those conditions: labor steps, materials, quantities, access needs, and any related components. Keeping those two sets of records distinct makes it easier to compare an inspection report with a later estimate without treating either document as the final word on coverage.
For example, a photo showing an open pipe boot belongs in the condition file. A proposal to replace the boot and associated shingles belongs in the scope file. The two documents may refer to each other, but they answer different questions. Homeowners can use PerilBridge's guide to reading a roofing inspection report to understand common report sections before comparing findings with a contractor's written recommendation.
Check code and safety questions without guessing
Local requirements, roof geometry, and the extent of work can affect how a repair is planned. Ask the contractor to identify any permit, code, or manufacturer-instruction question that may affect the proposed method. Do not assume that a recent code change applies to every repair, and do not assume that a visible condition establishes a code violation. The appropriate local building department or qualified professional can clarify requirements for the particular project.
Safety also belongs in the record. Roof work can involve fall exposure, electrical hazards, unstable surfaces, and weather-related risks. The National Roofing Contractors Association's storm-repair guidance encourages property owners to assess roof conditions from ground level and have closer assessment and repair handled by a professional roofing contractor. A homeowner can take ground-level photos and request documentation without placing themselves, an adjuster, or a contractor in an unsafe position.
Prepare a concise repairability packet
Before a scope review, organize the material into a short packet rather than an unstructured image folder. Begin with the roof description and inspection date. Add a simple roof diagram or elevation list, the photo index, the contractor's report, material information if available, temporary-protection records, and relevant correspondence. Keep a copy of every version of an estimate so it is clear which observations and proposed steps were available at each stage.
Property and inspection details: address, date, weather conditions if relevant, and who inspected.
Roof map: labeled slopes, key transitions, and the location of observed conditions.
Photo log: file name, location, observation, and whether it is overview, medium, or close detail.
Materials: labels, invoices, spare pieces, and product information that already exist at the property.
Written documents: inspection report, proposed scope, temporary-protection invoice, and questions for follow-up.
The National Centers for Environmental Information Storm Events Database can provide public context about reported weather events. It does not replace property-level inspection evidence, and it should be used as supporting context rather than a substitute for the observations at the building.
Use the record to make the next conversation clearer
The best repairability record is specific, calm, and complete enough for the next reviewer to follow. It does not assume why a condition occurred or what a policy requires. Instead, it identifies the roof system, shows the observed conditions in context, records material information, and separates a contractor's proposed method from the condition evidence.
When you are ready for a next step, PerilBridge's roof storm-damage service can help route the property to a vetted roofing contractor. Bring the inspection packet, date of loss if applicable, and any existing report or estimate. Clear documentation gives each participant a better starting point for an informed, site-specific discussion.